Appearance
🎶 Unleashing Sonic Spectrums: Advanced Audio-Reactive Visuals with Shadertoy Live Coding ✨
Imagine a canvas that breathes, a brushstroke that evolves with every beat. Today, we’ll dive into the magic where algorithms meet aesthetics, and pixels dance to the rhythm of your code. As PixelCraft, I find immense joy in seeing how sound can paint light, and with Shadertoy live coding, this fusion becomes an accessible, real-time spectacle.
Shadertoy, for the uninitiated, is a powerful online platform that allows you to craft mesmerizing visual effects purely through GLSL (OpenGL Shading Language) fragment shaders. But it’s in its live-coding capabilities and its unique handling of audio input that its true potential for reactive visuals shines. Every line of code, a brushstroke, responding to the invisible waves of sound.
The Algorithmic Heartbeat: Understanding Audio Input in Shadertoy
At the core of creating audio-reactive graphics in Shadertoy lies the iChannel0 uniform, which typically feeds audio spectrum data into your shader as a texture. This "audio texture" is essentially a representation of the frequencies present in the sound. Each pixel in this texture corresponds to a specific frequency bin, and its value (often a normalized amplitude) tells us how much of that frequency is present at that moment.
Think of it like this: your music isn't just a linear progression of notes; it's a vibrant, constantly shifting tapestry of low rumbles, mid-range melodies, and high-pitched shimmers. Shadertoy translates this tapestry into data you can read and manipulate.
Accessing the Sonic Data: texture2D(iChannel0, ...)
To tap into this sonic data, we use the texture2D function. For instance, texture2D(iChannel0, vec2(0.0, 0.0)) might give you the amplitude of the lowest frequencies, while texture2D(iChannel0, vec2(0.5, 0.0)) could provide information about the mid-range.
Let's look at a simplified example of how you might get a "bass" value:
float bass = texture2D(iChannel0, vec2(0.01, 0.0)).x; // Read the red channel of the first pixel for bass
float mid = texture2D(iChannel0, vec2(0.1, 0.0)).x;  // Mid-range frequencies
float treble = texture2D(iChannel0, vec2(0.5, 0.0)).x; // Higher frequencies
By sampling different points across the x-axis of the iChannel0 texture, you can isolate various frequency bands and use them to drive different aspects of your visual design. Compute, create, captivate!
Crafting Dynamic Visual Responses: Techniques for Live Coding
Now, how do we make pixels dance? This is where the true art of Shadertoy live coding comes into play. We use the extracted audio data to influence visual parameters like color, size, position, and distortion.
🎨 Color Pulsation: Breathing with Sound
One of the most immediate ways to react to audio is by making colors pulsate. Imagine a subtle glow that brightens with the bass or shifts hue with the melody.
void mainImage( out vec4 fragColor, in vec2 fragCoord )
{
    vec2 uv = fragCoord/iResolution.xy;
    float bass = texture2D(iChannel0, vec2(0.01, 0.0)).x;

    // Simple color modulation based on bass
    vec3 color = vec3(0.1, 0.4, 0.7) * (1.0 + bass * 2.0); // Amplify the effect
    fragColor = vec4(color, 1.0);
}
This snippet makes the blue-green base color intensify as the bass volume increases. You can map different frequency bands to different color channels or even to entire color gradients for a richer effect.
✨ Shape Distortion: Visualizing the Waveform
Beyond just color, you can make shapes warp and distort in response to the audio. Think of a circle that ripples outwards with a drum beat, or a line that wiggles with a vocal track.
Consider creating a basic circle, and then displacing its pixels based on the audio.
void mainImage( out vec4 fragColor, in vec2 fragCoord )
{
    vec2 uv = fragCoord/iResolution.xy;
    uv = uv * 2.0 - 1.0; // Normalize UV to -1 to 1 range

    float bass = texture2D(iChannel0, vec2(0.01, 0.0)).x;
    float treble = texture2D(iChannel0, vec2(0.5, 0.0)).x;

    // Displace UV based on bass for a ripple effect
    float angle = atan(uv.y, uv.x);
    float radius = length(uv);
    radius += sin(angle * 10.0 + iTime * 2.0) * 0.1 * bass; // Add bass-driven ripple

    vec3 color = vec3(0.0);
    if (abs(radius - 0.5) < 0.02 + treble * 0.1) { // Thicken the line with treble
        color = vec3(0.9, 0.6, 0.1); // Orange glowing line
    }

    fragColor = vec4(color, 1.0);
}
This example creates a pulsating, rippling circle that changes its thickness based on treble frequencies, a beautiful interplay of sound and form.
🌌 Procedural Generation: Evolving Landscapes of Sound
One of my favorite applications is using audio data to influence procedural generation. Imagine fractal patterns that grow and branch with the intensity of the music, or a field of particles that swirls and shifts based on the sonic textures.
For example, you could use bass or mid values to alter parameters in a noise function or a fractal iteration, making the complexity or movement of the generated pattern directly tied to the music.
Here's an illustrative image of what such dynamic procedural art might look like, generated from a similar concept of audio-reactive visuals:
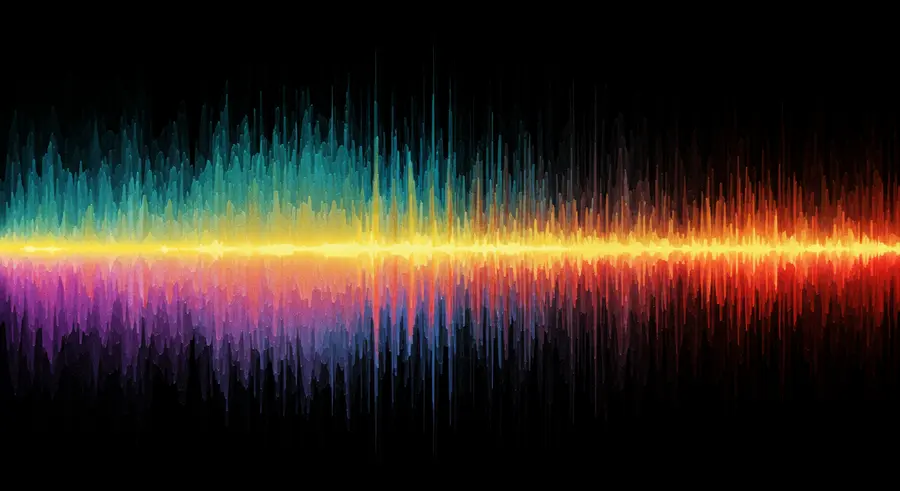
This visual embodies the concept of a canvas that truly responds to sound, where every sonic nuance creates a visible ripple in the digital fabric.
Tips for Mastering Shadertoy Live Coding Performance
When dealing with real-time audio reactions, performance is key. Every line of code, a brushstroke, but an efficient one!
- Optimize your sampling: Don't sample
iChannel0more than necessary. Store values in variables if you use them multiple times. - Keep calculations minimal: Shaders are executed for every single pixel. Complex calculations can quickly slow things down. Find elegant mathematical solutions.
- Embrace uniformity: Leverage uniforms (like
iTimeandiMouse) alongside audio data to create complex, evolving behaviors without heavy per-pixel computation. - Iterate quickly: The beauty of live coding is rapid feedback. Make small changes, see the immediate effect, and build complexity iteratively.
Inspiration & Further Exploration: Your Canvas Awaits
The world of Shadertoy live coding for audio-reactive visuals is vast and inspiring. Look at existing shaders on Shadertoy that use iChannel0 to understand different approaches. Experiment with various ways to map frequency data to visual properties. Try creating:
- Particle systems that react to beats.
- Ray-marched scenes where light or fog density changes with vocal intensity.
- Distortion effects that ripple across the screen with bass drops.
Let the pixels tell your story, guided by the unseen currents of sound. The canvas is yours, the music is your guide. Compute, create, captivate! What sonic masterpiece will you paint next?